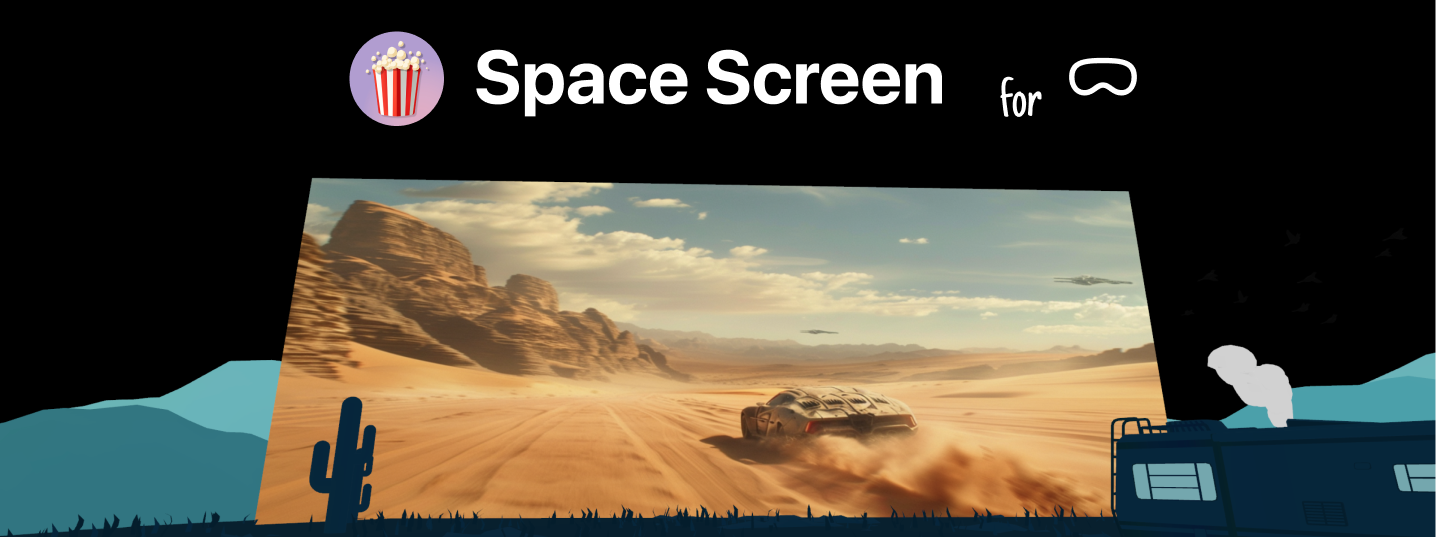
Space Screen for Apple Vision Pro
Side Quest
April 2024
Stream web content on a massive adjustable screen in different immersive environments.
Some movies and shows are meant to be experienced on a massive screen, and that’s exactly what this app is built for.
Note: “Scene” refers to the immersive environments the user can select.
Features
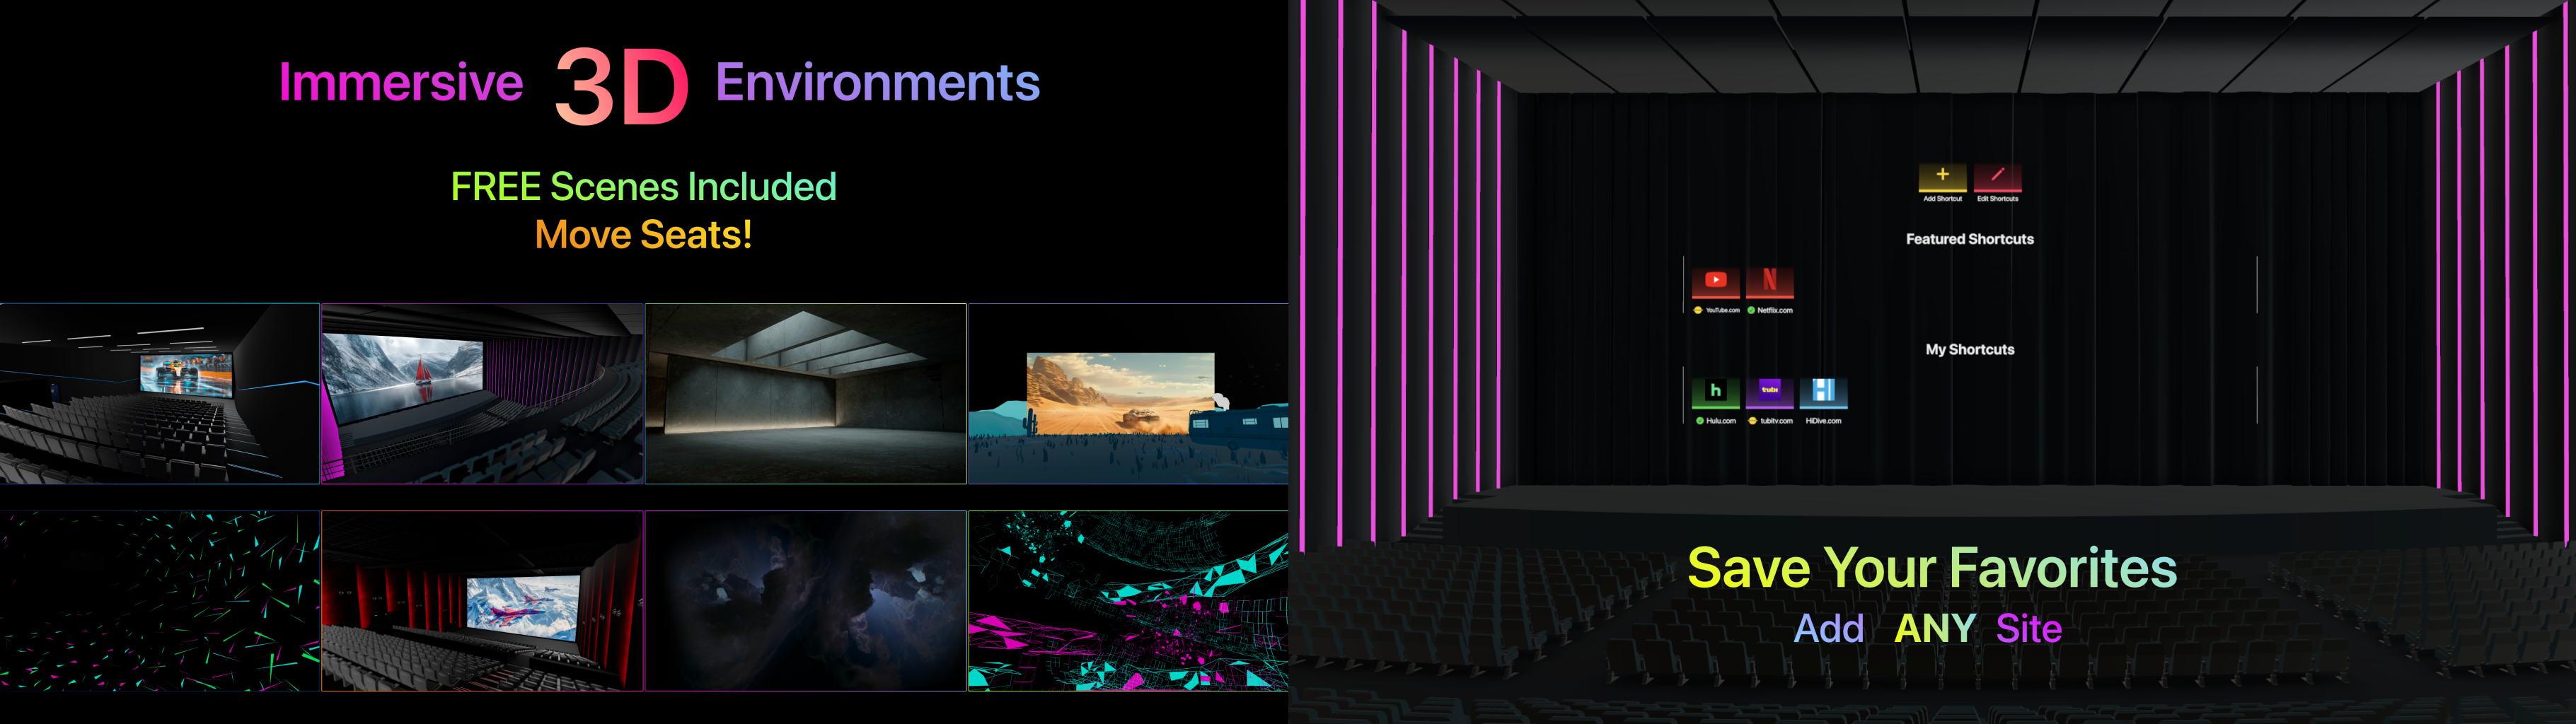
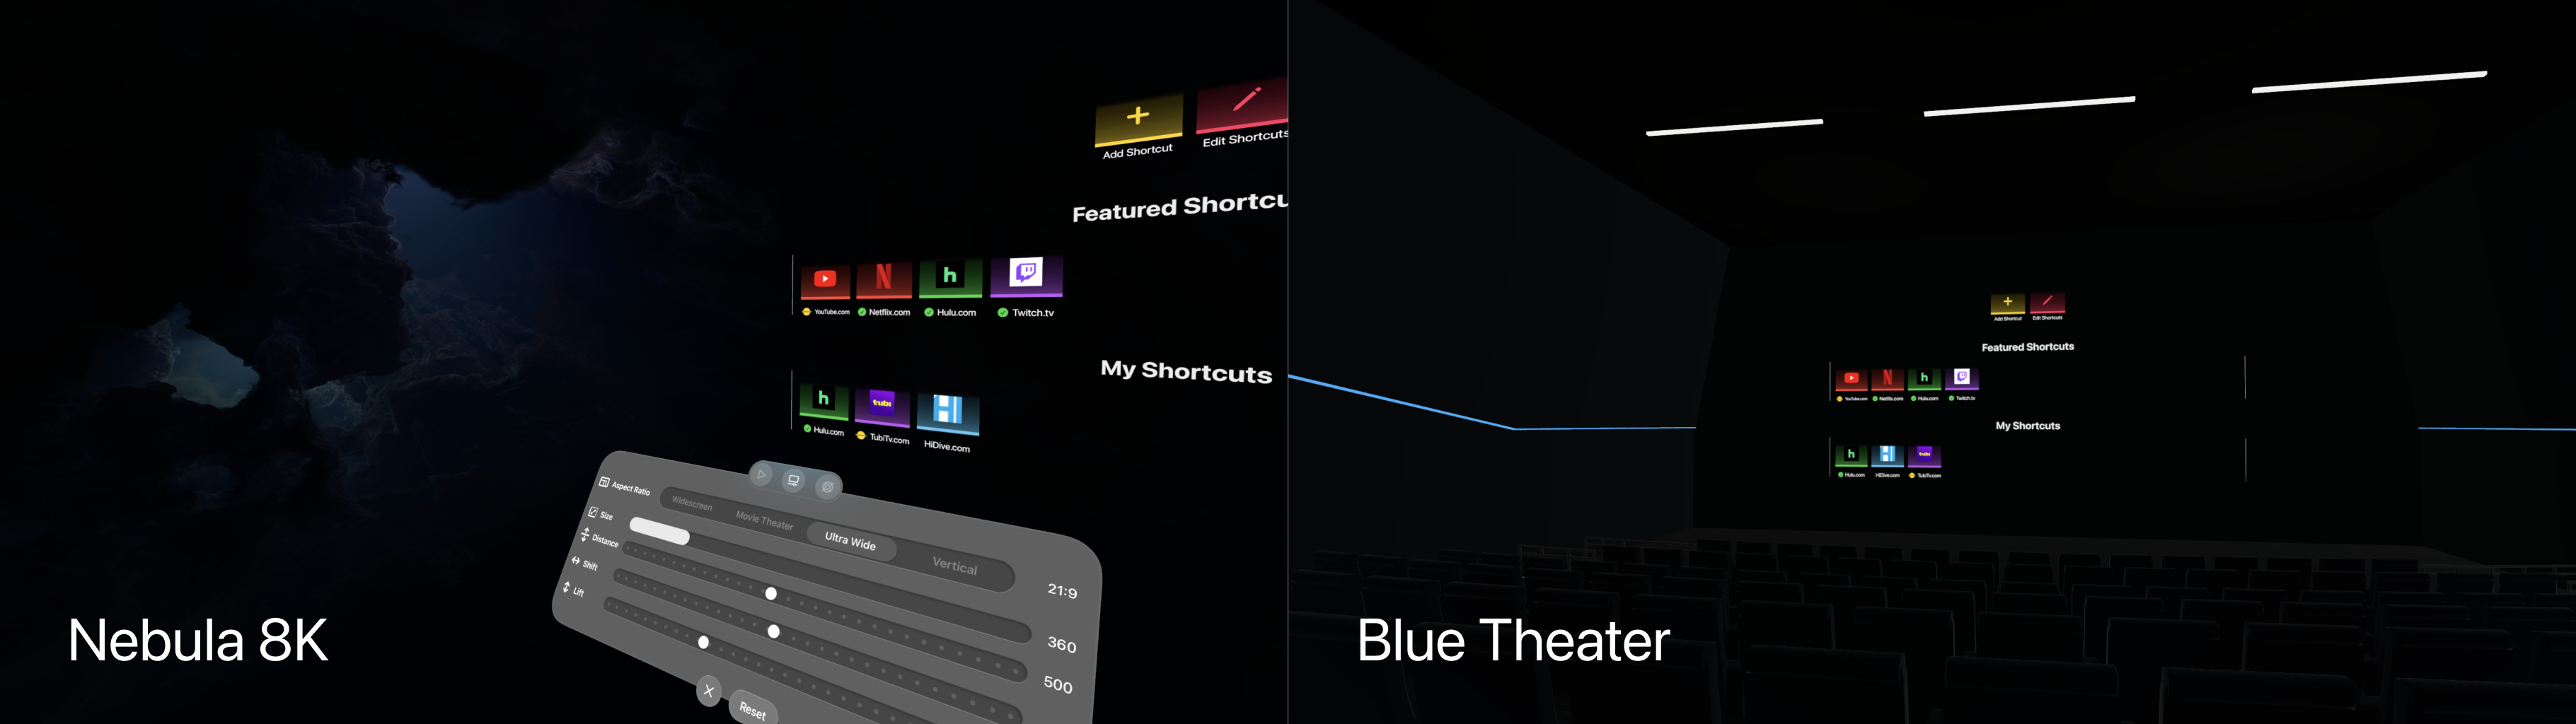
- Select from a range of immersive environments, whether it’s a massive movie theater where you can change seats or a nebula formation in outer space. (Free environments included)
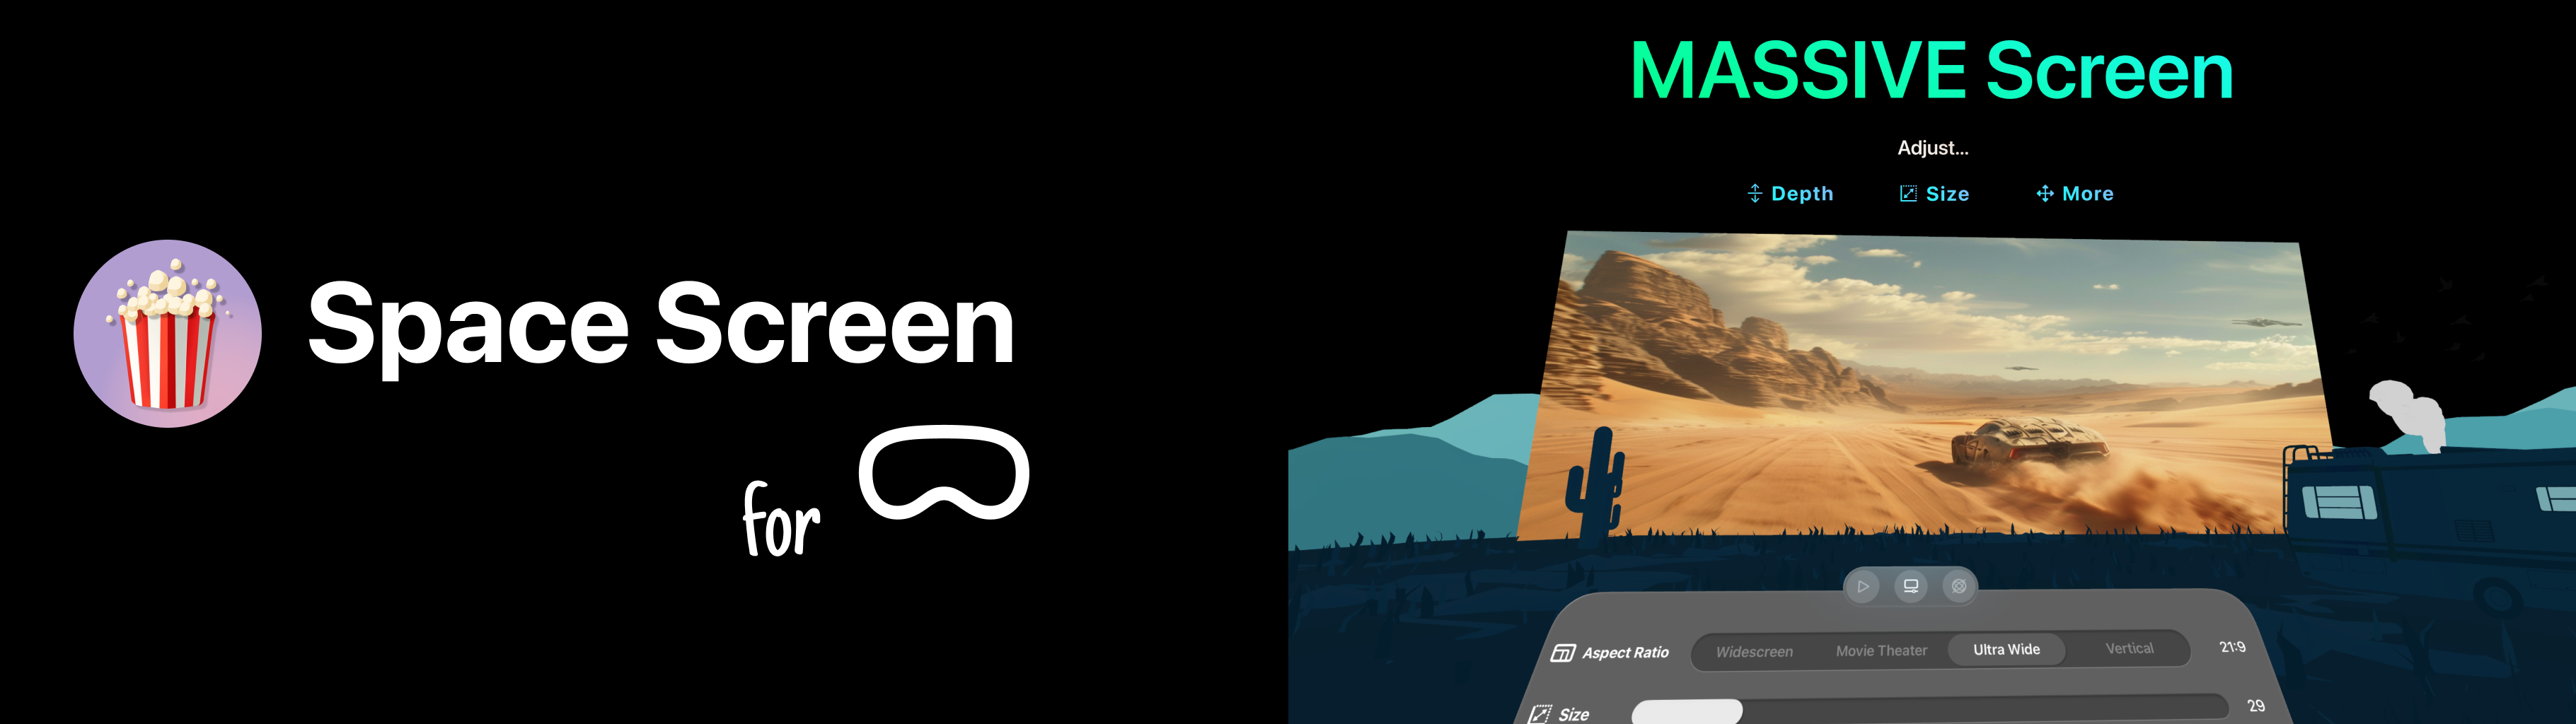
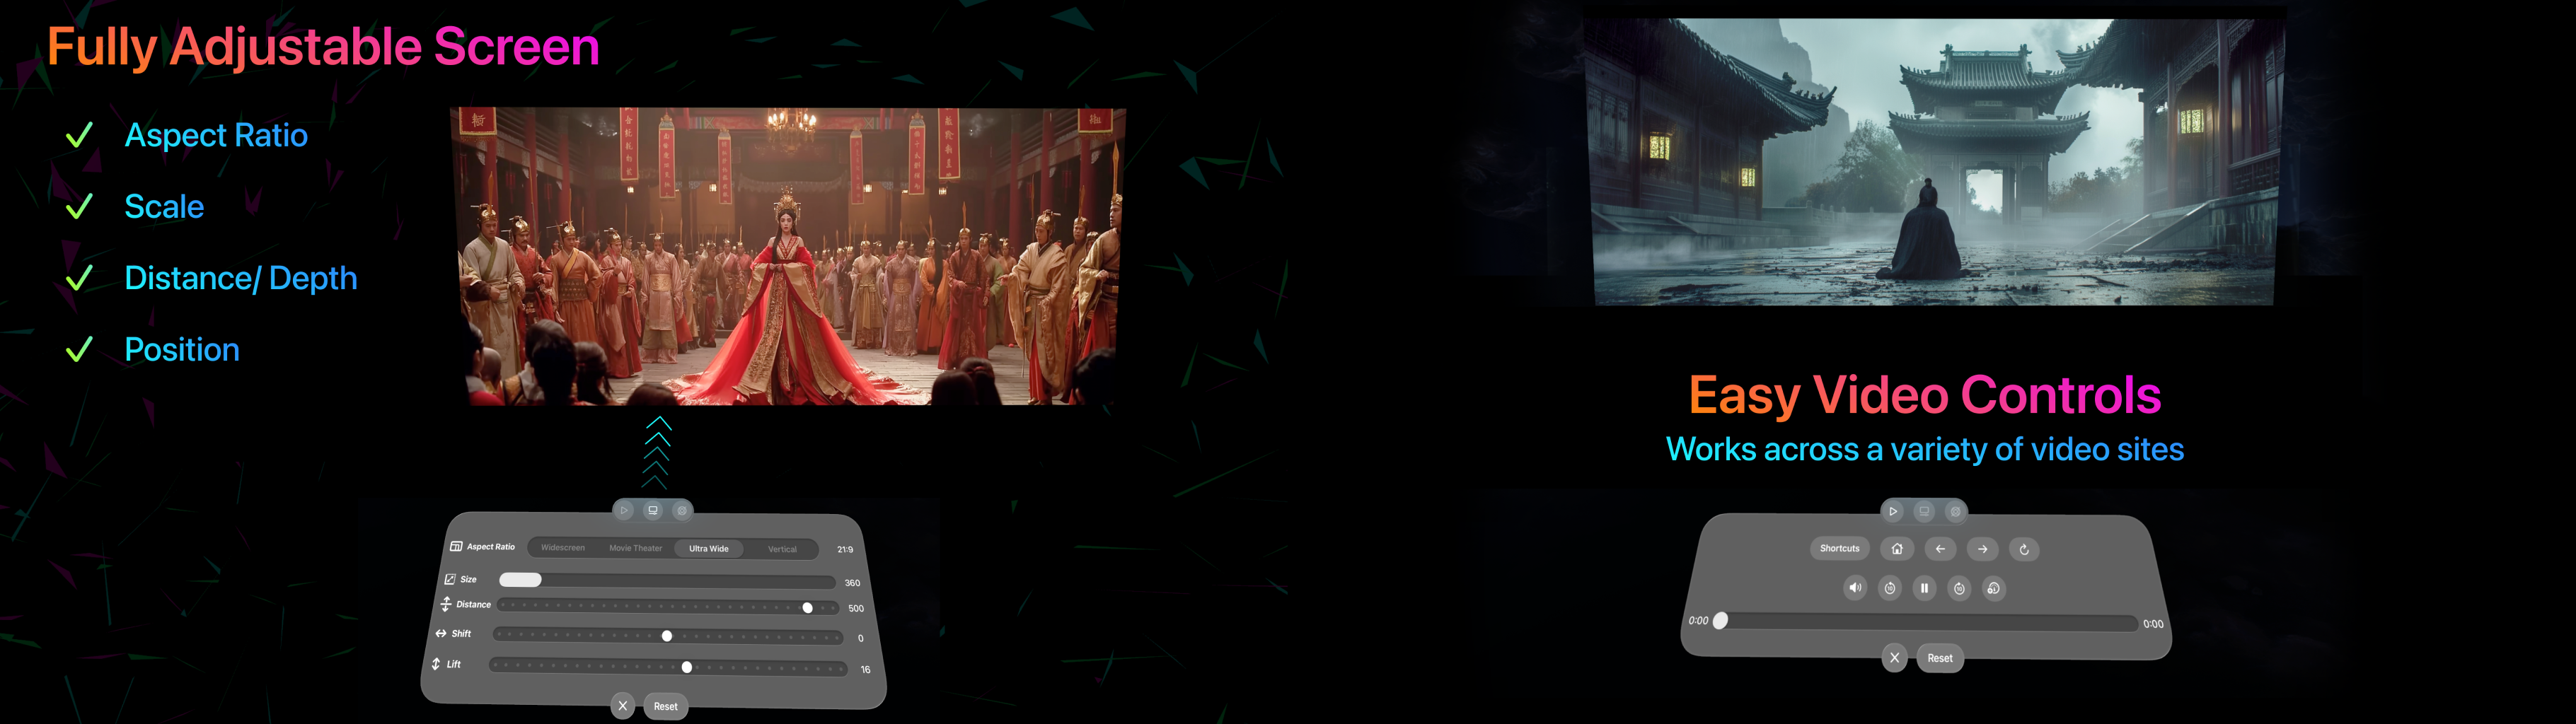
- Adjustable screen allowing you to customize distance, scale, position, and aspect ratio.
- Easy video controls that work with most video streaming websites.
- Save your favorite sites for quick access, whether it be Netflix, Twitch, or anything else.
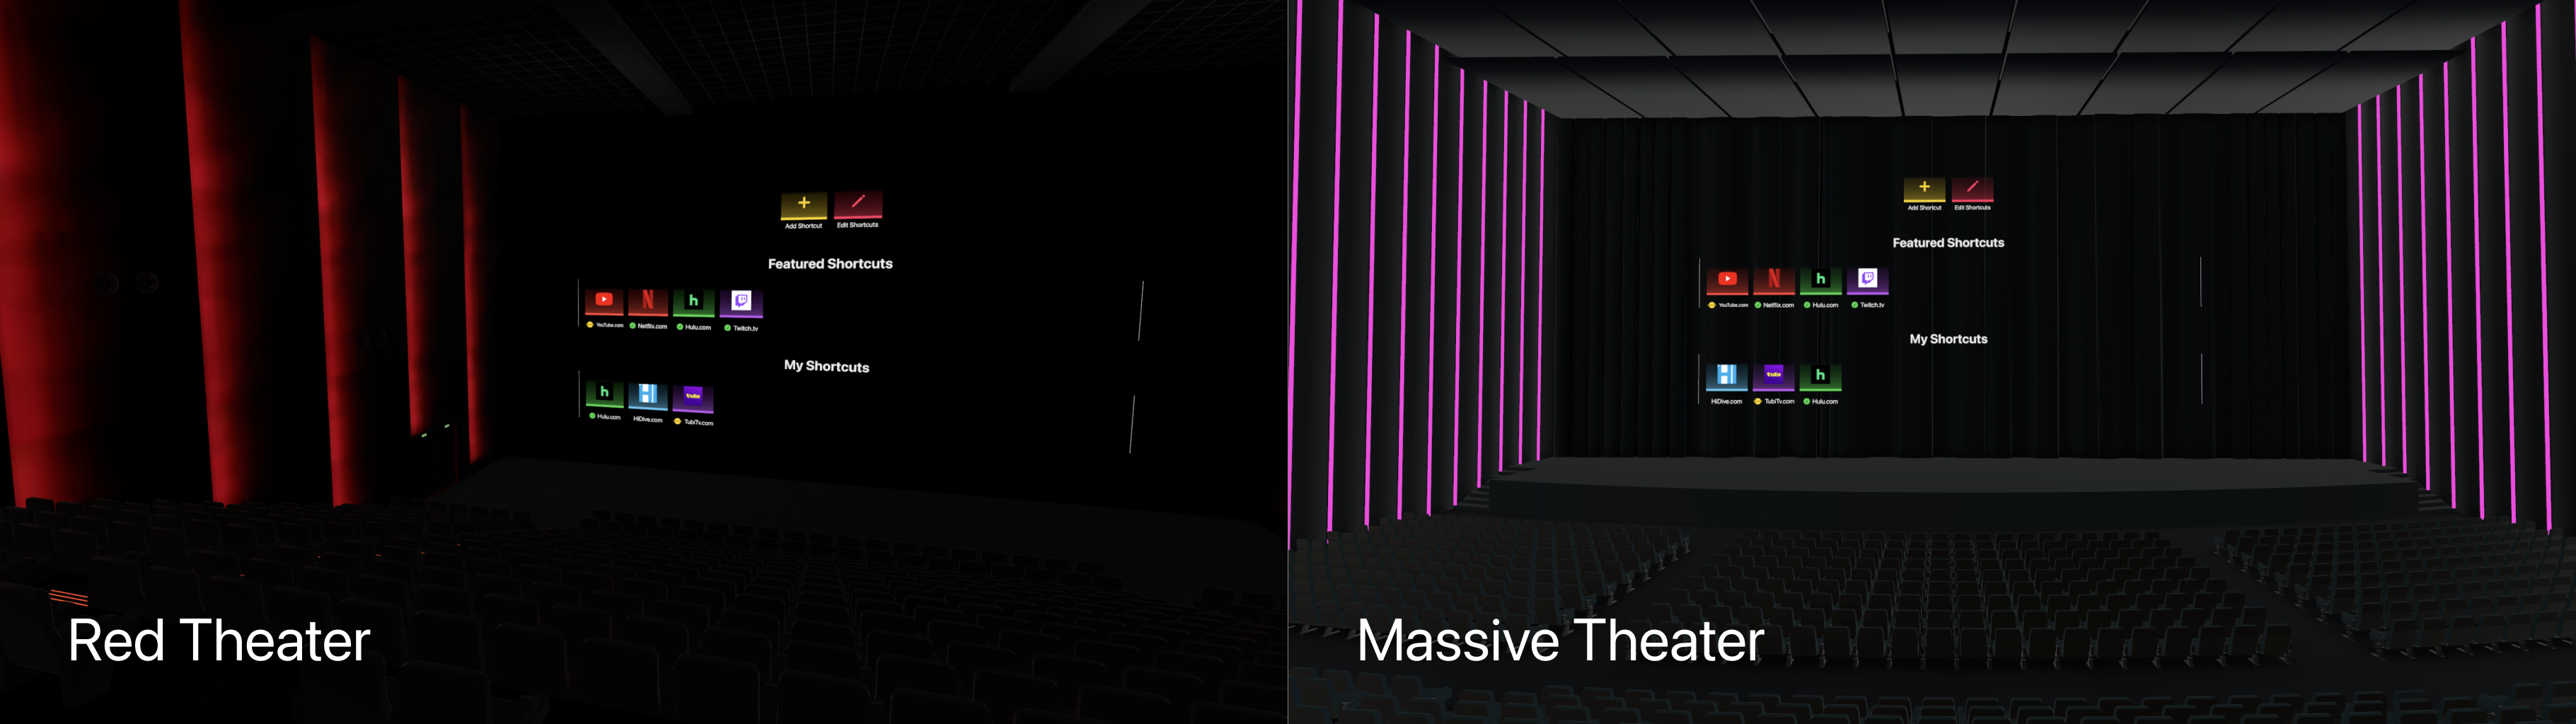
- Move seats in immersive environments, such as choosing a balcony seat in a movie theater or grabbing a front-row seat.
Preview
Scene Attributes

-
Adjustable Screen - This is for very expansive scenes, such as the default Nebula 8K, giving the user full control of the screen as the space in the scene allows.
- For smaller environments such as the theater options, this option is more restricted, such as disabling the option to adjust the distance/depth of the screen to avoid clipping the screen out of view.
-
Multi-Seat - Allows the user to select a different seat/viewpoint in the scene. At the moment, only “Massive Theater” has this option. More options are coming soon to other scenes; the feature is in place, just need to come up with the different seating arrangements.
-
3D - Scene contains some 3D mesh model content. At v1.0.0 all scenes but the default Nebula 8K contain 3D mesh models.
-
4K - Refers to texture quality used in the scene if applicable. As of v1.0.0, Bastion has 4K textures and is arguably the largest scene in terms of file size at nearly 80 MBs, including the mesh and textures.
-
8K - Refers to texture quality used in the scene. As of v1.0.0, the default Nebula 8K has this tag. The skybox is from a premium skybox pack. The actual end result is a modified version of that where that 8K Nebula is made smaller to allow for another nebula for a breathtaking view.
-
Dynamic - Adds a dynamic element to the scene such as a very slight rotation to the skybox or other objects like rotating stars. Disabled as of v1.0.0; no scene features this option to avoid possible motion sickness.
- The movement is very slight, but after reading online feedback, I opted to remove it. Future scenes may include some kind of dynamic elements such as a fire pit, etc.
-
Customizable - Allows the user to adjust different things around the scene such as changing LED/light color in a scene to whatever the user prefers. As of v1.0.0, no scene features this option yet.
- Changing LED color to yellow or some other color instead of pink in the “Massive Theater.”
Environments
As of v1.0.0, the app features the following scenes:
- Nebula 8K - Breathtaking dual nebula with stunning 8K textures
- Blue Theater - Medium-sized one-level movie theater
- Massive Theater - Huge four-level theater. Choose your seat!
- Red Theater - Large two-level movie theater
- Synth Stage - Neon blast of 3D geometry perfect for a cyberpunk vibe
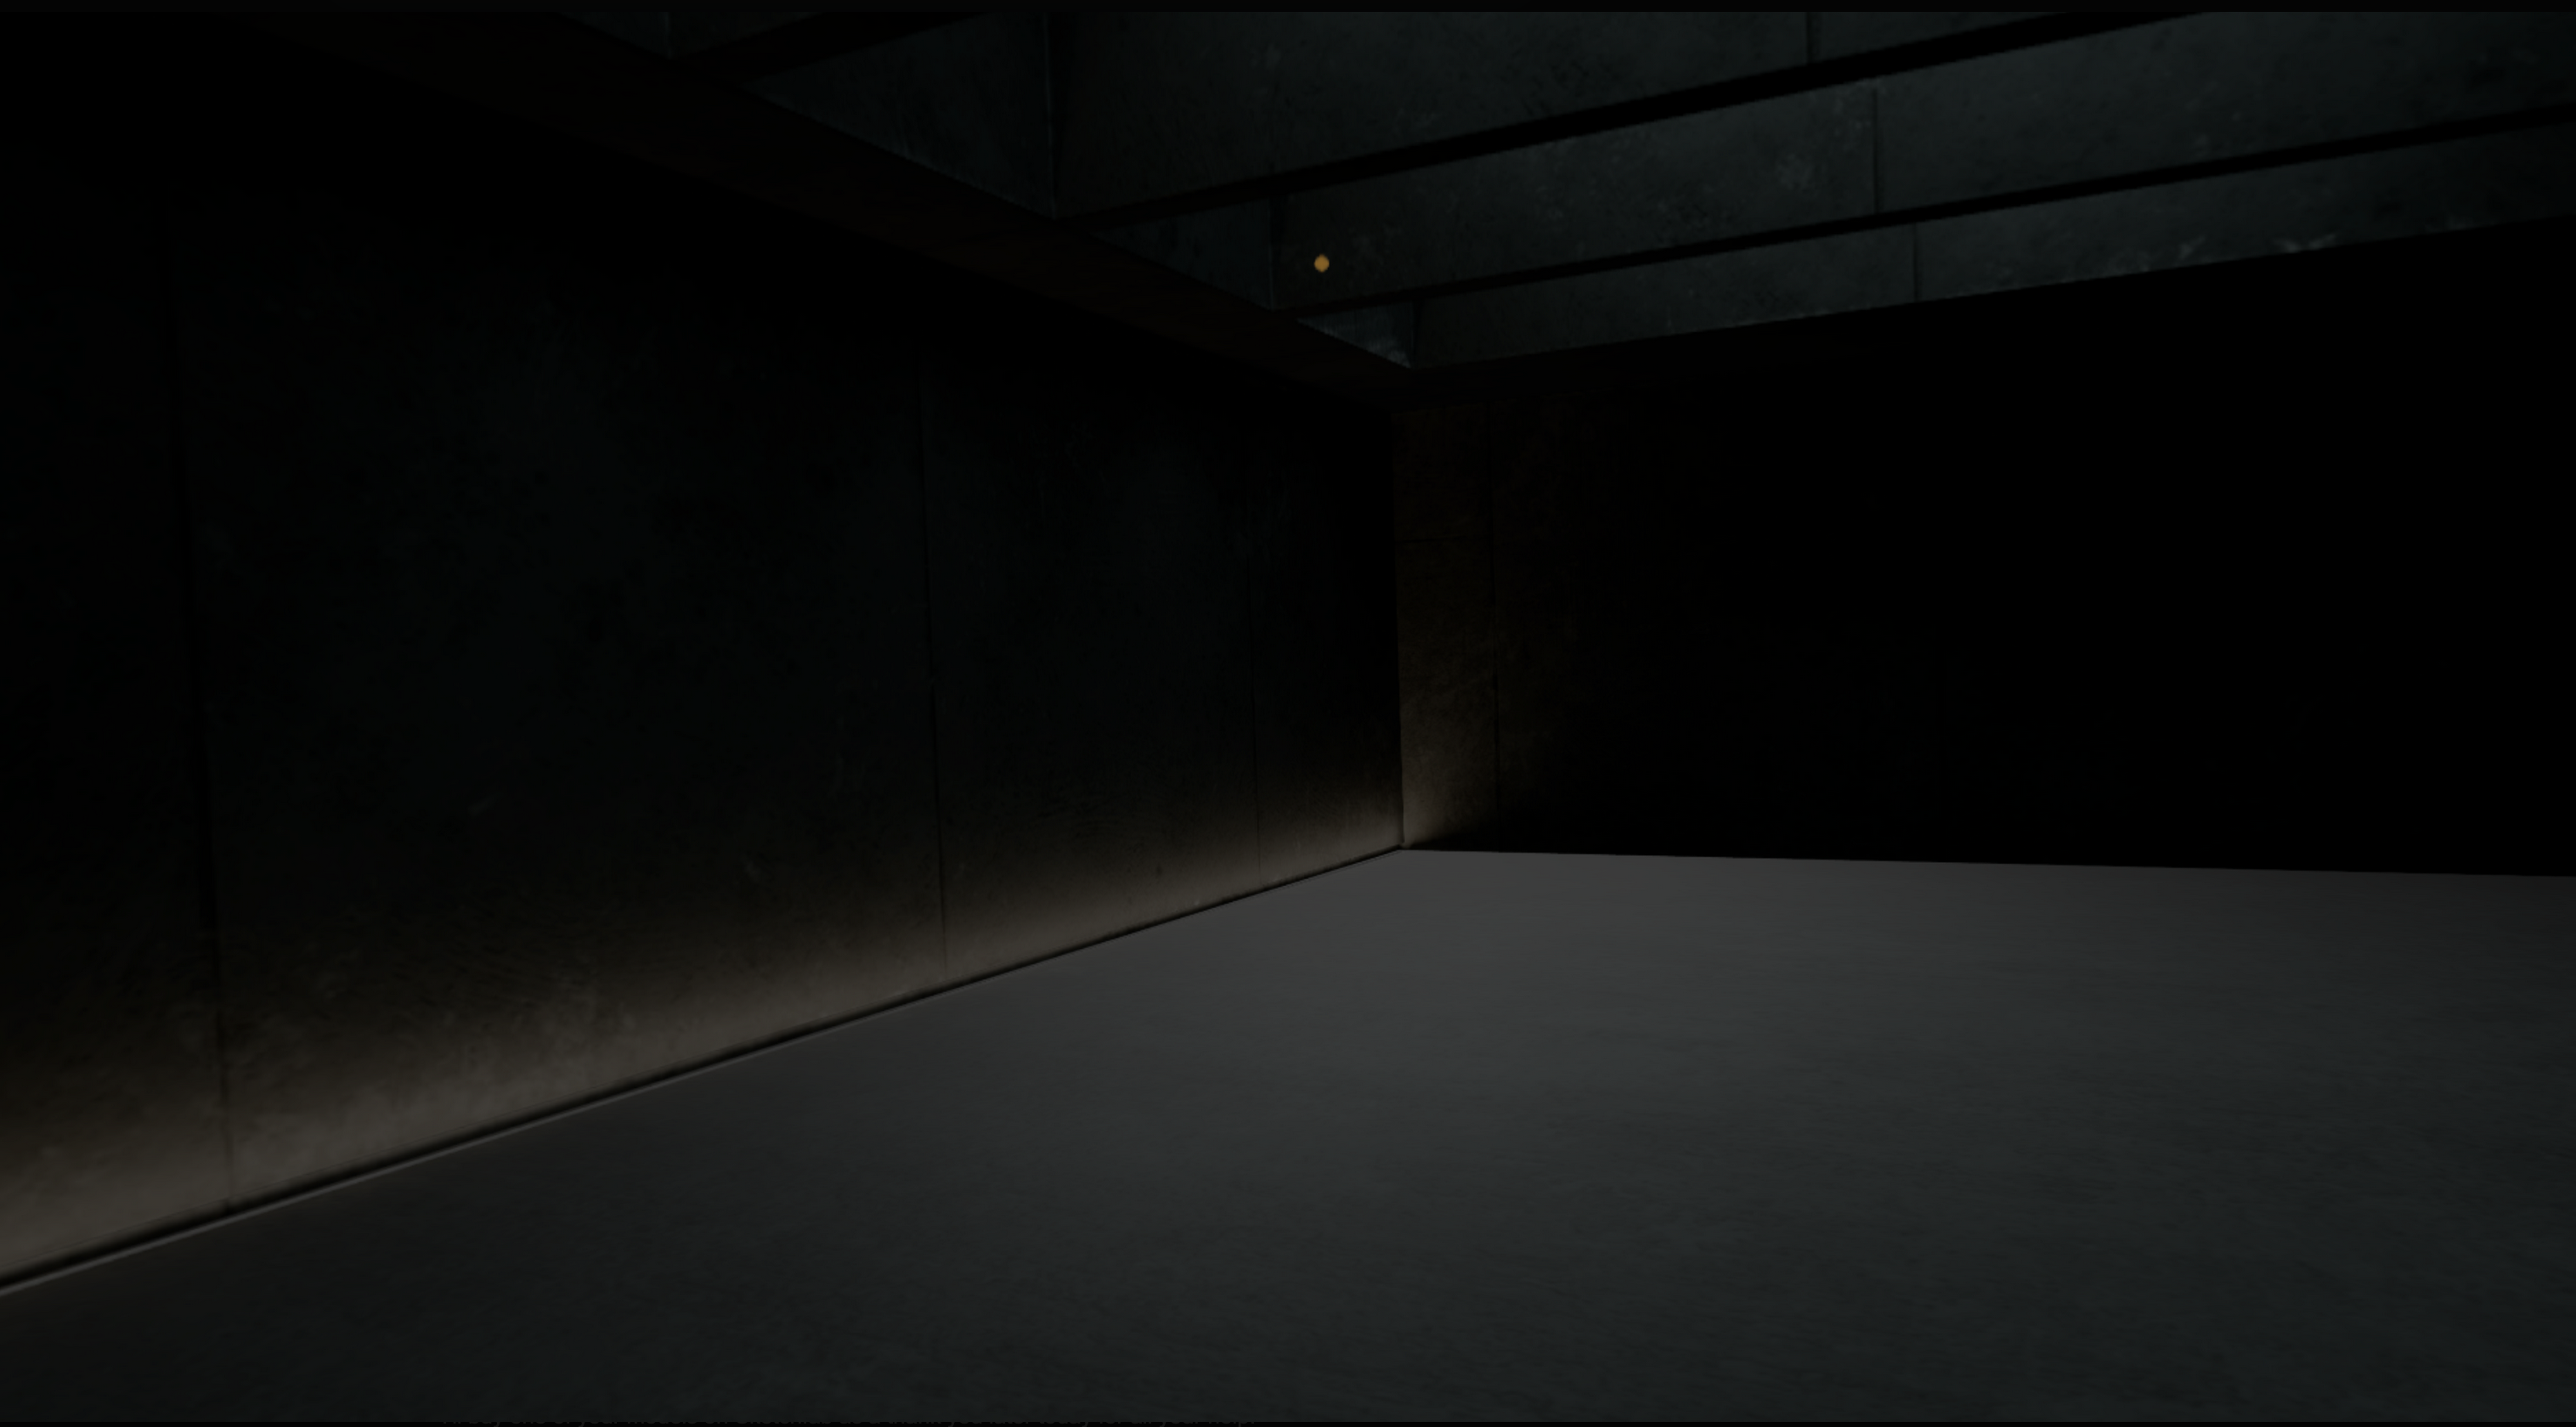
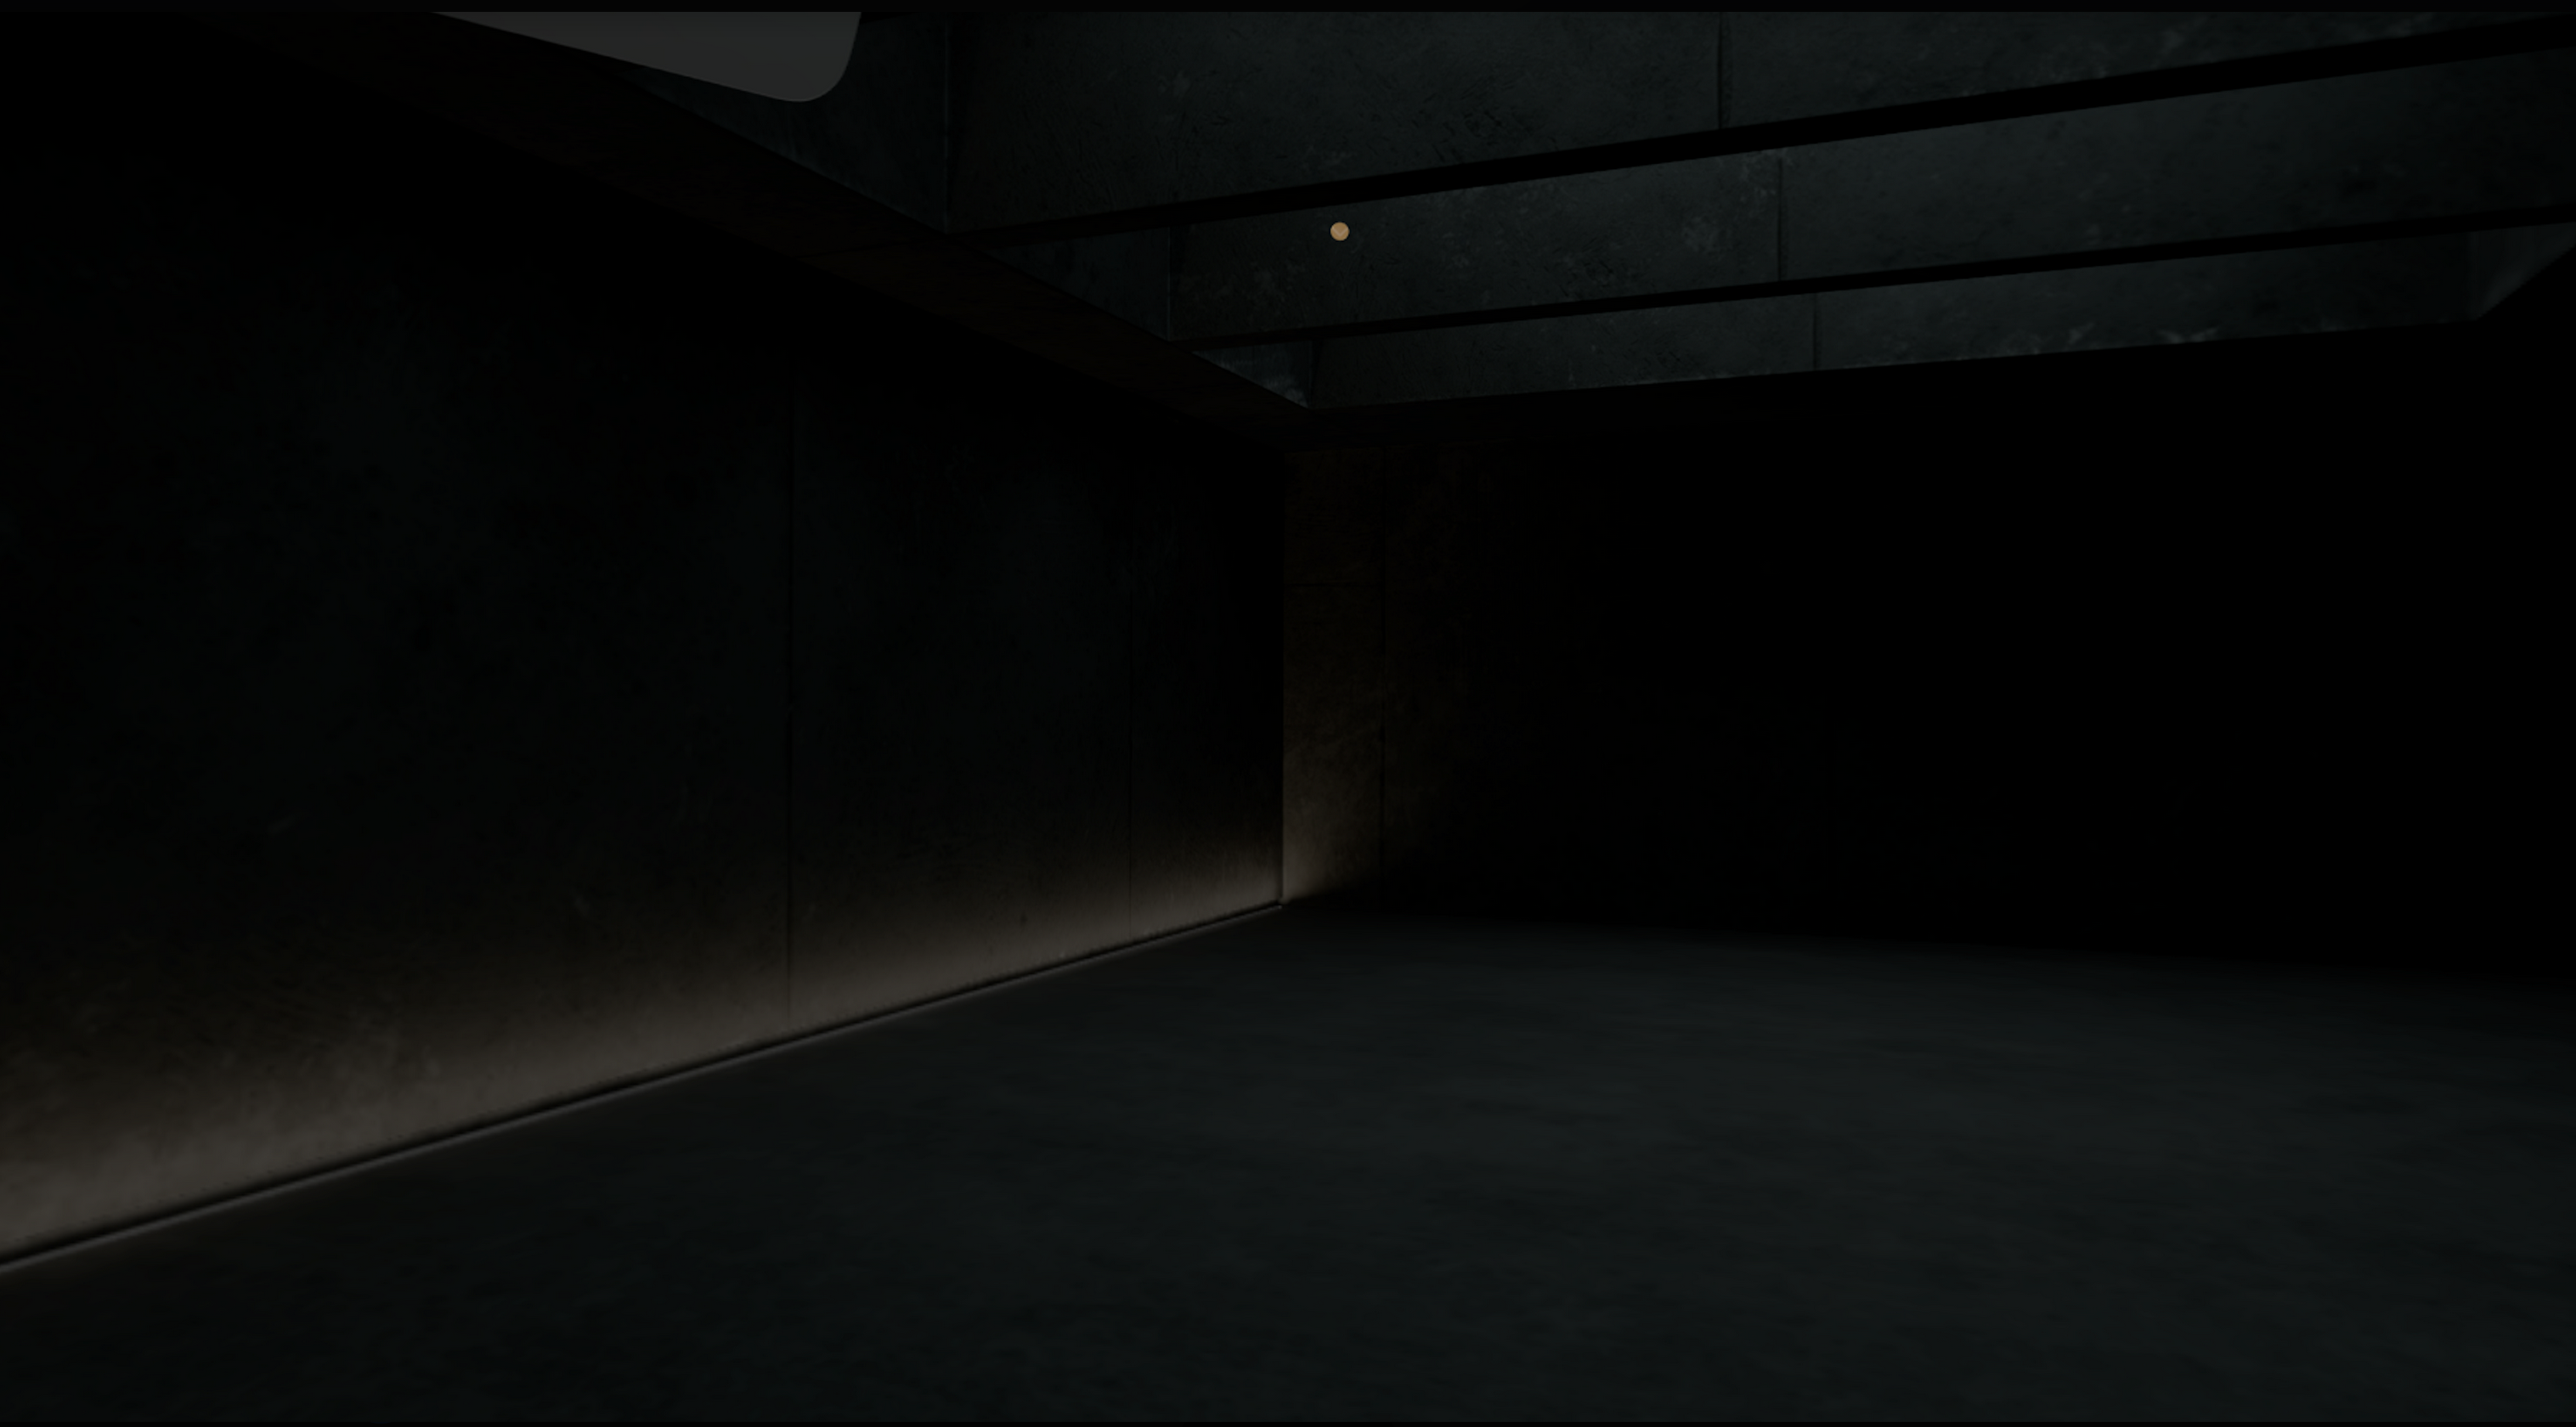
- Bastion - Indoors concrete lair
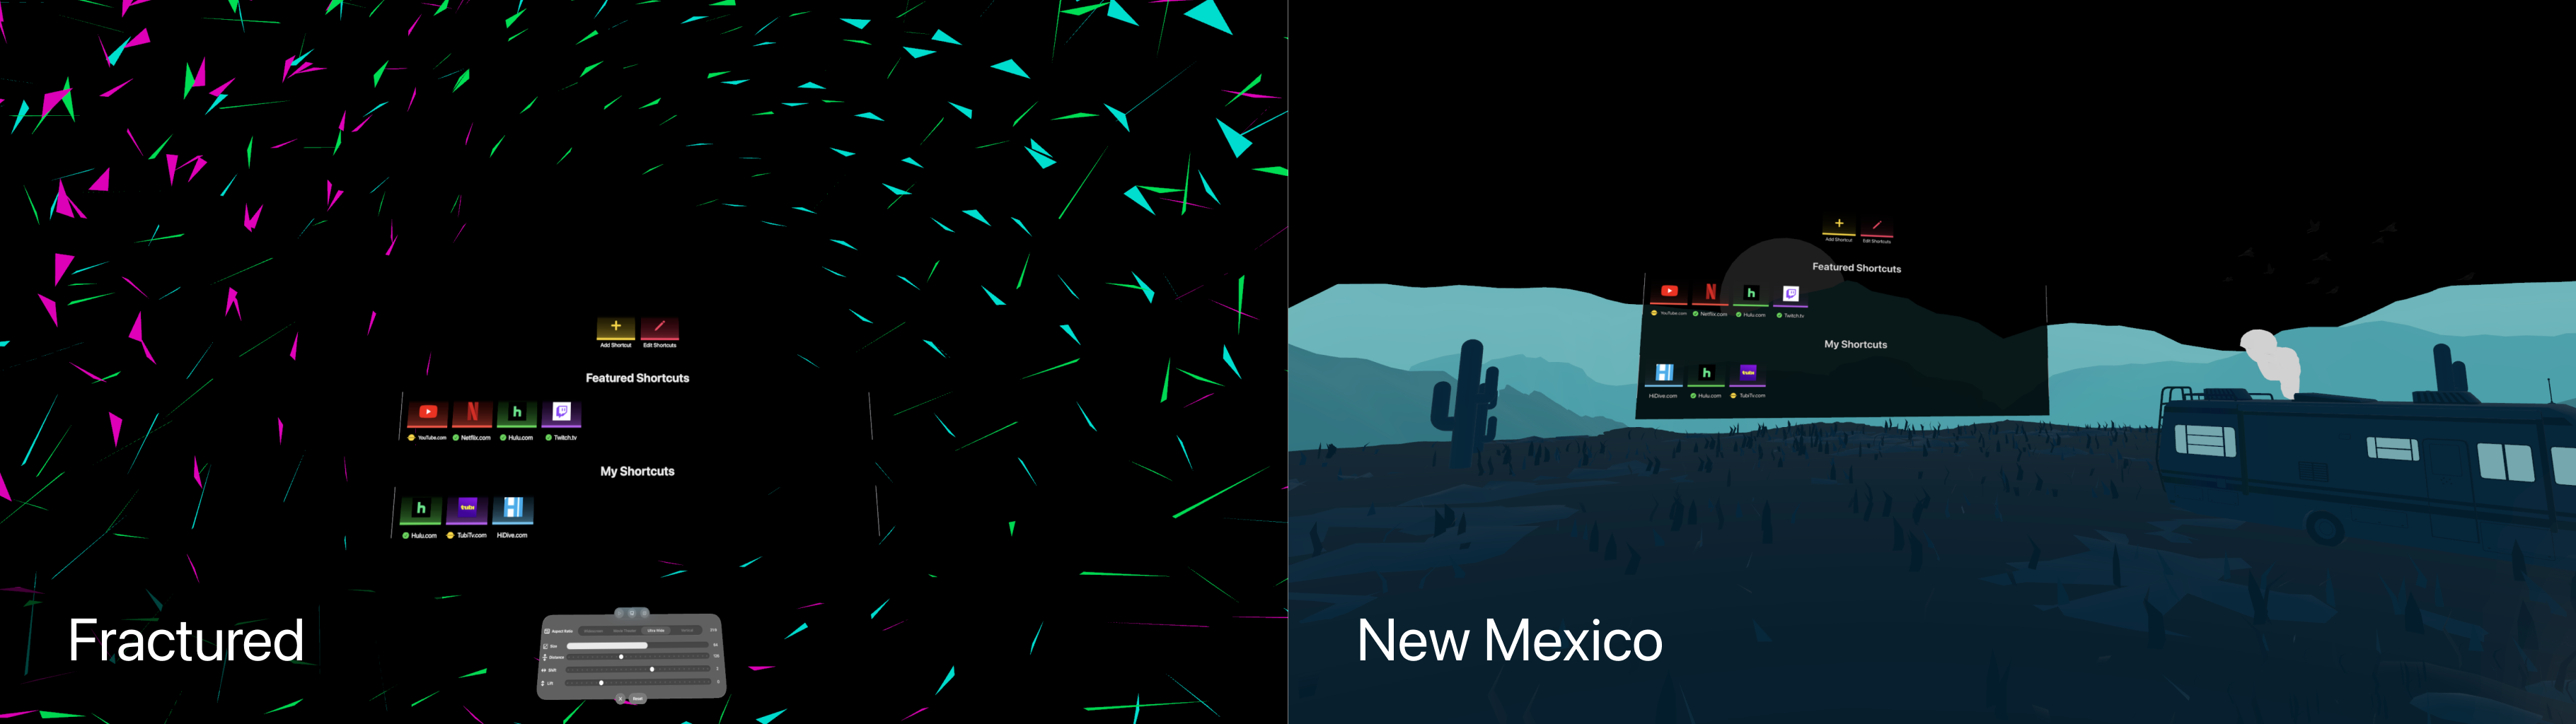
- Fractured - 3D geometry neon glass shrapnel
- New Mexico - Cool desert vibe after a long day of cooking and camping
Previews
NOTE: The brightness in the screenshots does not reflect the actual brightness you’ll experience with the Vision Pro headset. In the screenshots, the darks appear VERY dark, whereas with the actual headset, the brightness is perfect.

Upcoming Features
- Full Screen for YouTube
- Multi-Seats - Expand seat selection. At the moment, only “Massive Theater” has this option. Will be adding more options soon.
- Sleep Mode/Seat Option - This allows you to lay down with the screen overhead.
- Hand-bound Controls - Need feedback on this. Wondering if I should bind the controls to the user’s left hand.
- SharePlay Controls Sync - This is a nice-to-have feature but low priority at the moment. Can prioritize it more pending feedback.
Lessons Learned
-
Eye detection distance/depth maxes out at 999 scalar points.
- Perhaps I’m doing things wrong but to confirm this, I spun up a separate project with a single button attachment to an anchor.
- Push the anchor beyond exactly 999 scalar points in the Z-Axis and your inputs will no longer register.
- Distance is measured from the exact center at
SIMD3<Float>(x: 0.0, y: 0.0, z: 0.0). - Meaning, if you put the anchor in the middle of the screen (
SIMD3<Float>(x: 0.0, y: 0.0, z: 999.0)) it will register up to 999 scalar points. However… if you increase the value of the X-Axis or the Y-Axis, eye detection will stop working at even a smaller number which makes sense given the change in X or Y-Axis will be even farther from the center where your AVP sits.- Example: Put the anchor at a higher point, say in some corner (
SIMD3<Float>(x: 200.0, y: 200.0, z: 999.0)), now eye detection will no longer work at an even smaller value than 999 in the Z-Axis.
- Example: Put the anchor at a higher point, say in some corner (
- Again, not sure if I’m doing something wrong, but messing around with this and the fact that it maxes out at exactly 999 makes me think this may have been intentionally capped at that distance.
-
Use a dedicated reality kit controller. I learned this from @the_gonchar (Twitter) and it has been a godsend to keep things properly organized.
- This was especially the case with Space Screen and the amount of SwiftUI attachments I had.
-
Taking 4K screenshots is still painful:
- Currently, you have to use Reality Composer to get those 4K in-headset screenshots that you need for the App Store listing. Sadly, that process is nothing short of painful.
- One trick here is to upscale simulator screens if need-be for non-crucial screenshots.
-
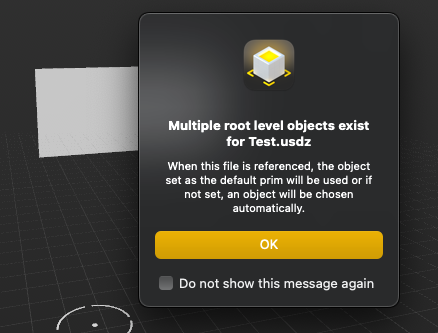
Use Reality Converter (Apple.com) even if you get a USDZ model.
- One amazing feature of Reality Converter is the lighting option, which will save you some headache if you were not already aware of RC.
- Download
.glbmodel if that is available for the best texture quality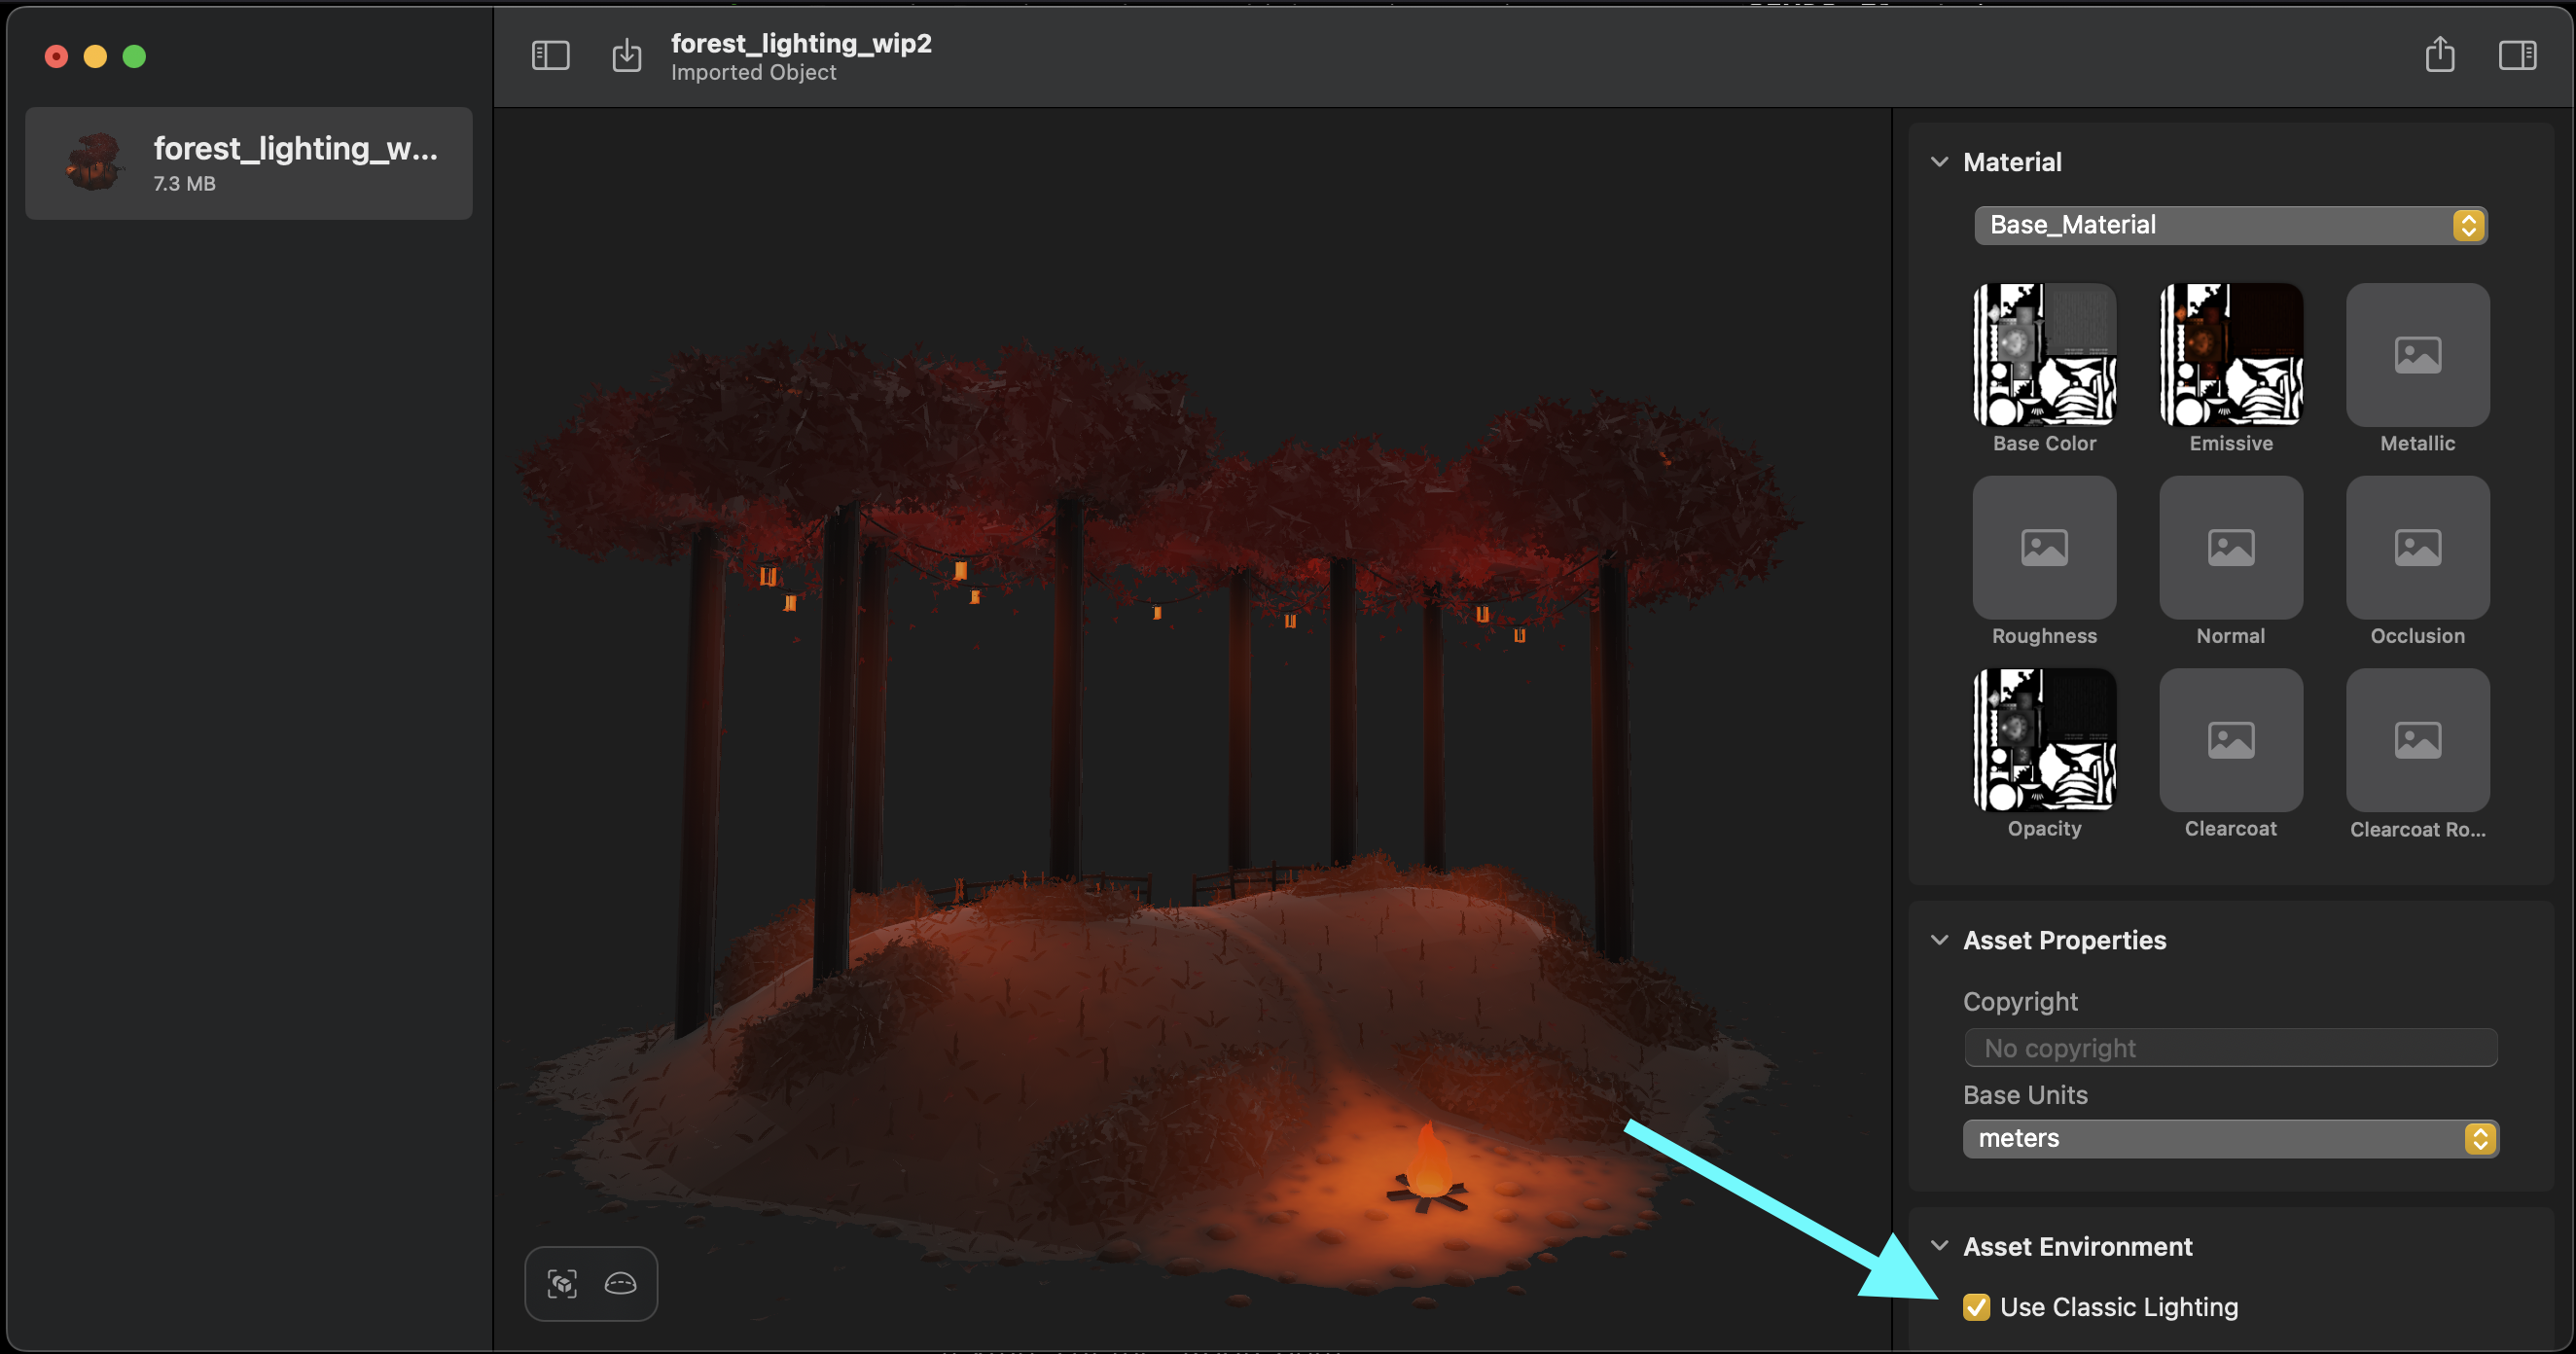
-
Not all baked models are the same…
- Some 3D models will be perfectly baked while others will fall apart as soon as they are converted to USDZ.
- Common issues:
- Using custom shaders Reality Kit will not recognize.
- Pixelated textures, even at 4K textures some scenes will appear very pixelated.
- Textures simply not loading. This is a result of the model not having all the textures at the “Root/ prim.”
- Common issues:
- This is more worrisome if you are purchasing a 3D model. I bought several models that I did not add to the app as they were simply too pixelated when converted or completely fell apart.
- If you’re commissioning a model from a 3D artist, you can work with them, and many artists were kind enough to try a few things until things worked out.
- Some 3D models will be perfectly baked while others will fall apart as soon as they are converted to USDZ.
-
Best settings to avoid washed-out colors:
- So you finally got your model working perfectly but now the textures are VERY dark or VERY bright.
- First suspect should be your skybox IBL setup, this is the Image Based Lighting skybox and can be customized if you do not want to use the one that comes with the default template when making a new immersive app.
- If you’ve already checked that, read the Common Issues section below for the Reality Composer Pro settings that worked well for me when it came to scenes with textures.
- So you finally got your model working perfectly but now the textures are VERY dark or VERY bright.
Common Issues
Things you may run into and their explanations:
-
Textures don’t load on import
- Solution 1: Use Reality Converter
- Solution 2: Move the materials to be at the Root/Prim level. In Blender, this should be the default if you have a Blender file. If you don’t have much 3D knowledge, just tell the artist about moving the materials to the Root/Prim level, and they’ll probably fix it for you if needed.
- Solution 3: Manually import and apply the textures. This is by far the most painful one and if you have a scene with more than 4 textures, you will quickly lose your sanity!
-
Textures are too “washed out” or too bright/ reflective
- Solution: The following settings work out very well for me for most scenes.
- You may have to adjust one of them slightly based on your scene, but I rarely had to.
1Roughness from 0.X -> 1 2Index of Refraction to from 1.X -> 1.0 3Clearcoat -> 0 4Clearcoat Roughness -> 0-
0.5 Roughness
-
1.0 Roughness
- Solution: The following settings work out very well for me for most scenes.
Privacy Policy
- There is a tab for the privacy policy inside the app and here as well: Privacy Policy